3D Printed Denver Broncos' Logo Christmas Gift
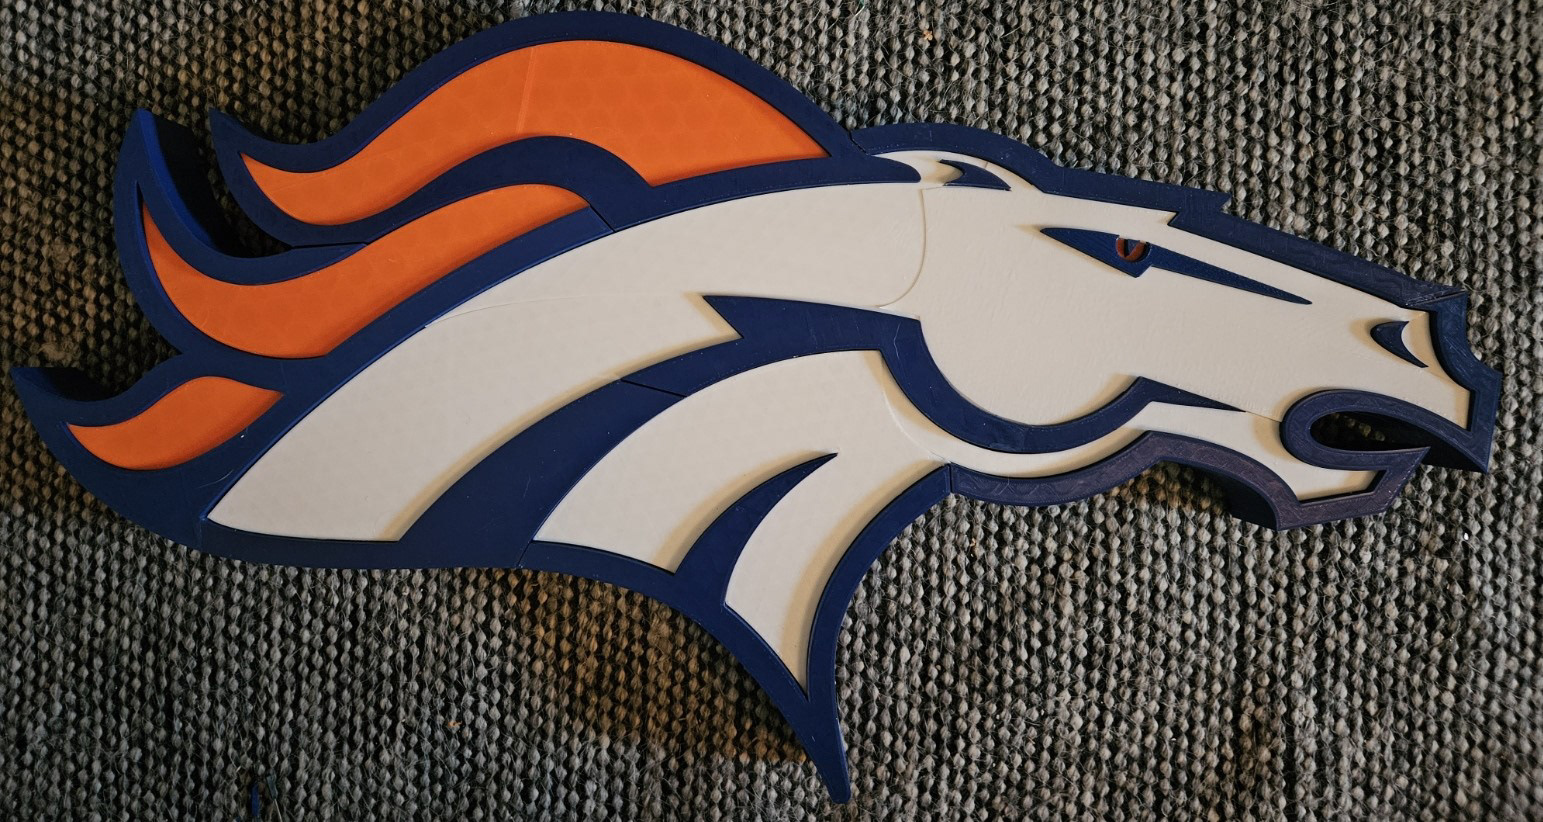
So My brother is a big Denver Broncos fan and so I thought I could pretty easily print him a big logo that he could toss on the wall. It came out great but there was definitely a few speed bumps and some quick fixes I had to incorporate to get this done on time.

1st thing I had to figure out was how much filament I would need, for roughly the size that I wanted. From edge to edge It's roughly 730mm from the scaled logo that I have in fusion. If I had a more reliable printer, realistically this could be done with 1 roll of blue, 1 roll of Orange and 2 rolls of white
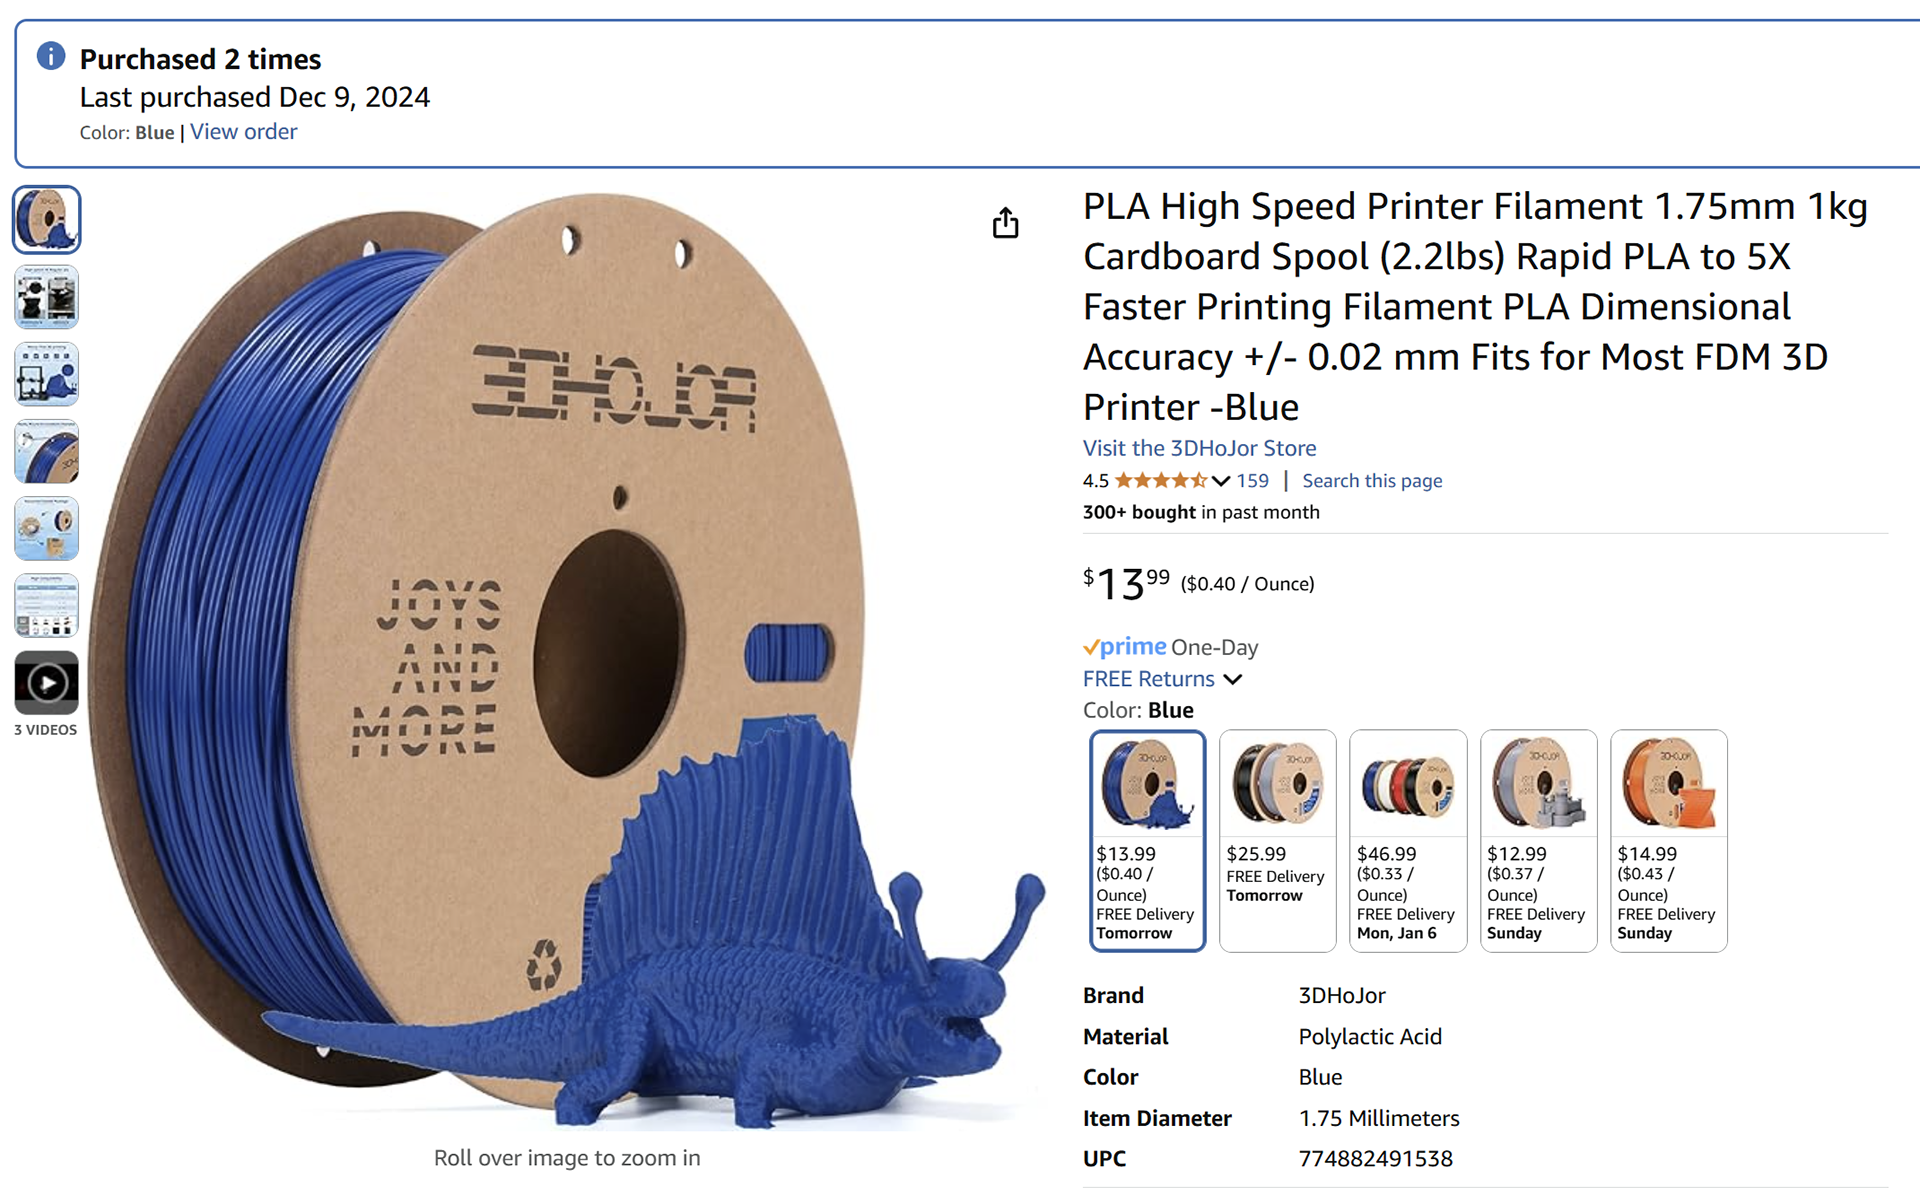
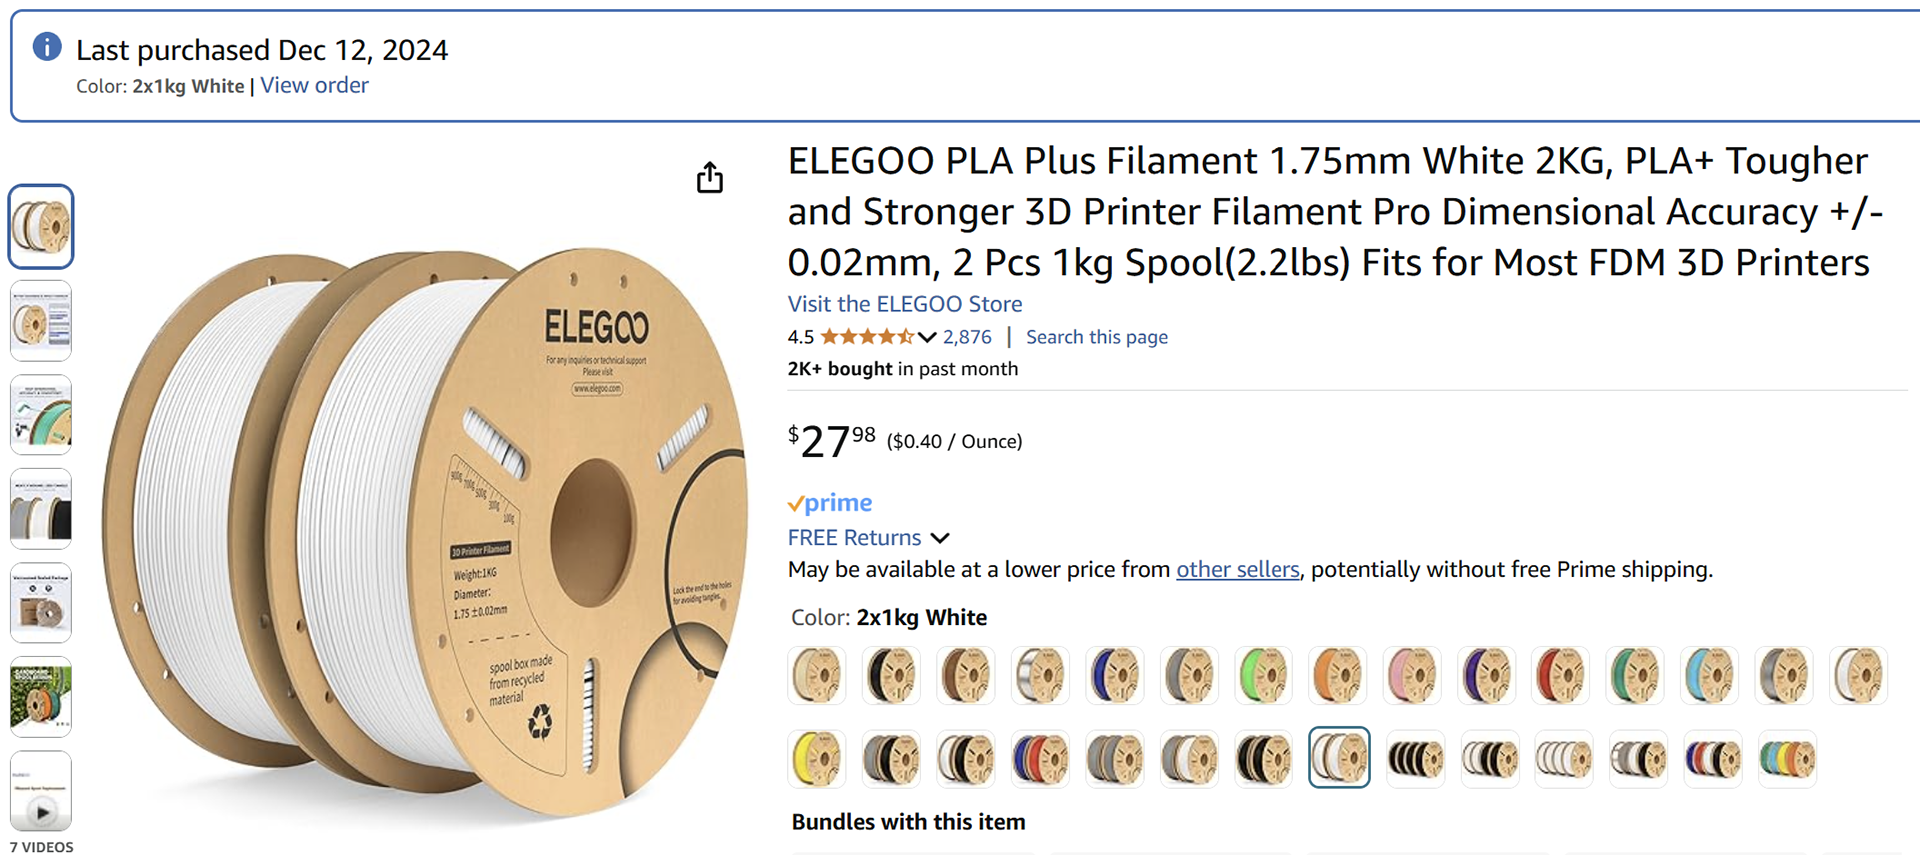
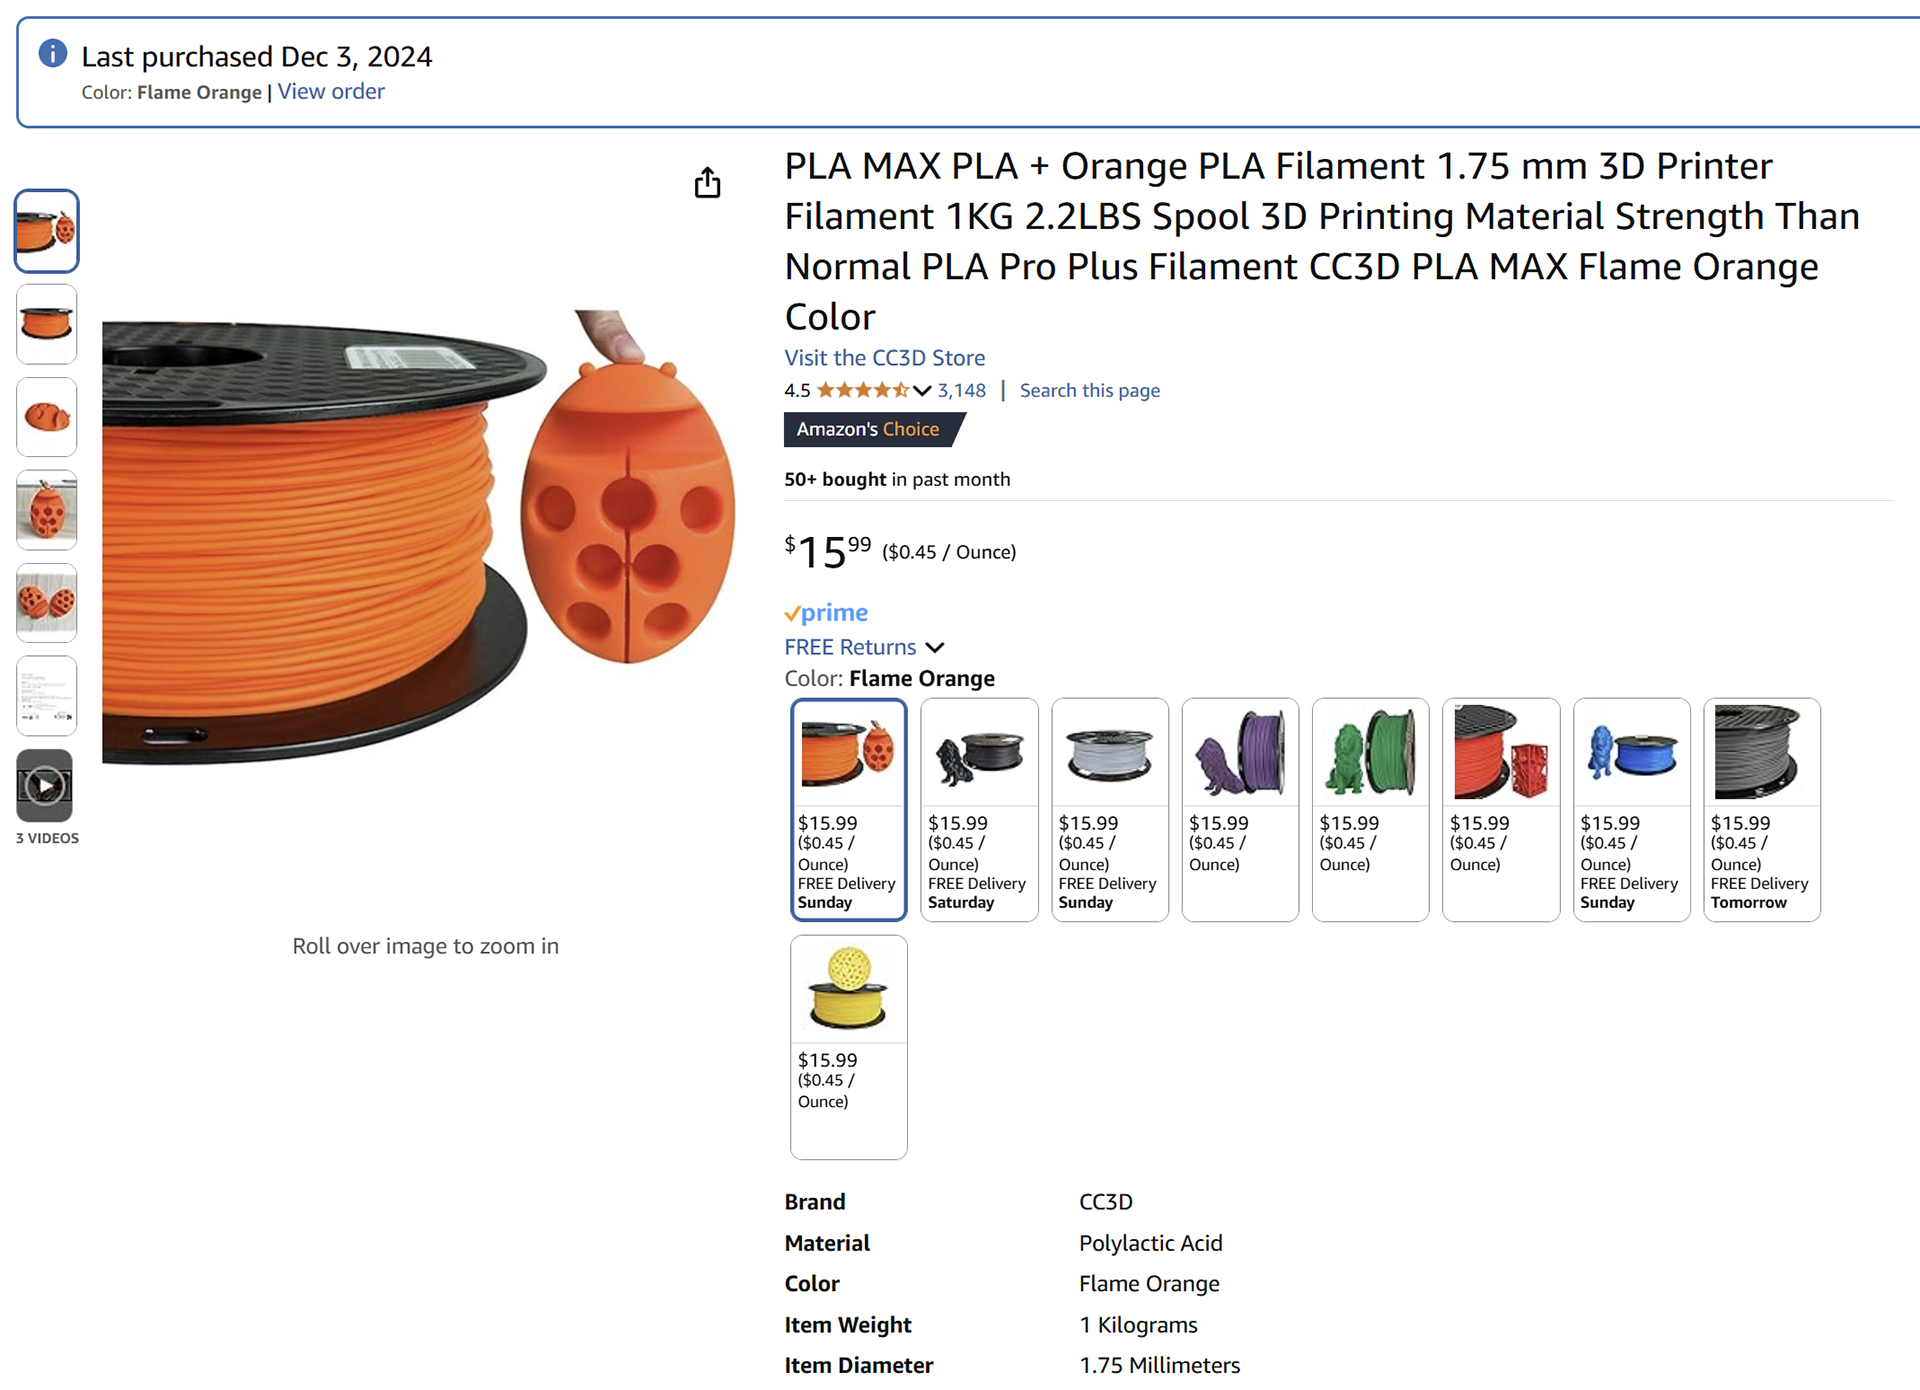
I found 3 filaments I liked and at the time, were relatively inexpensive at the time the orange was ~$16 dollars and the blue was ~$14. I had white filament on hand that I had originally thought I could use, but soon realized it needed to be dehydrated and so I cut my losses and got an elegoo 2 pack for like $28.
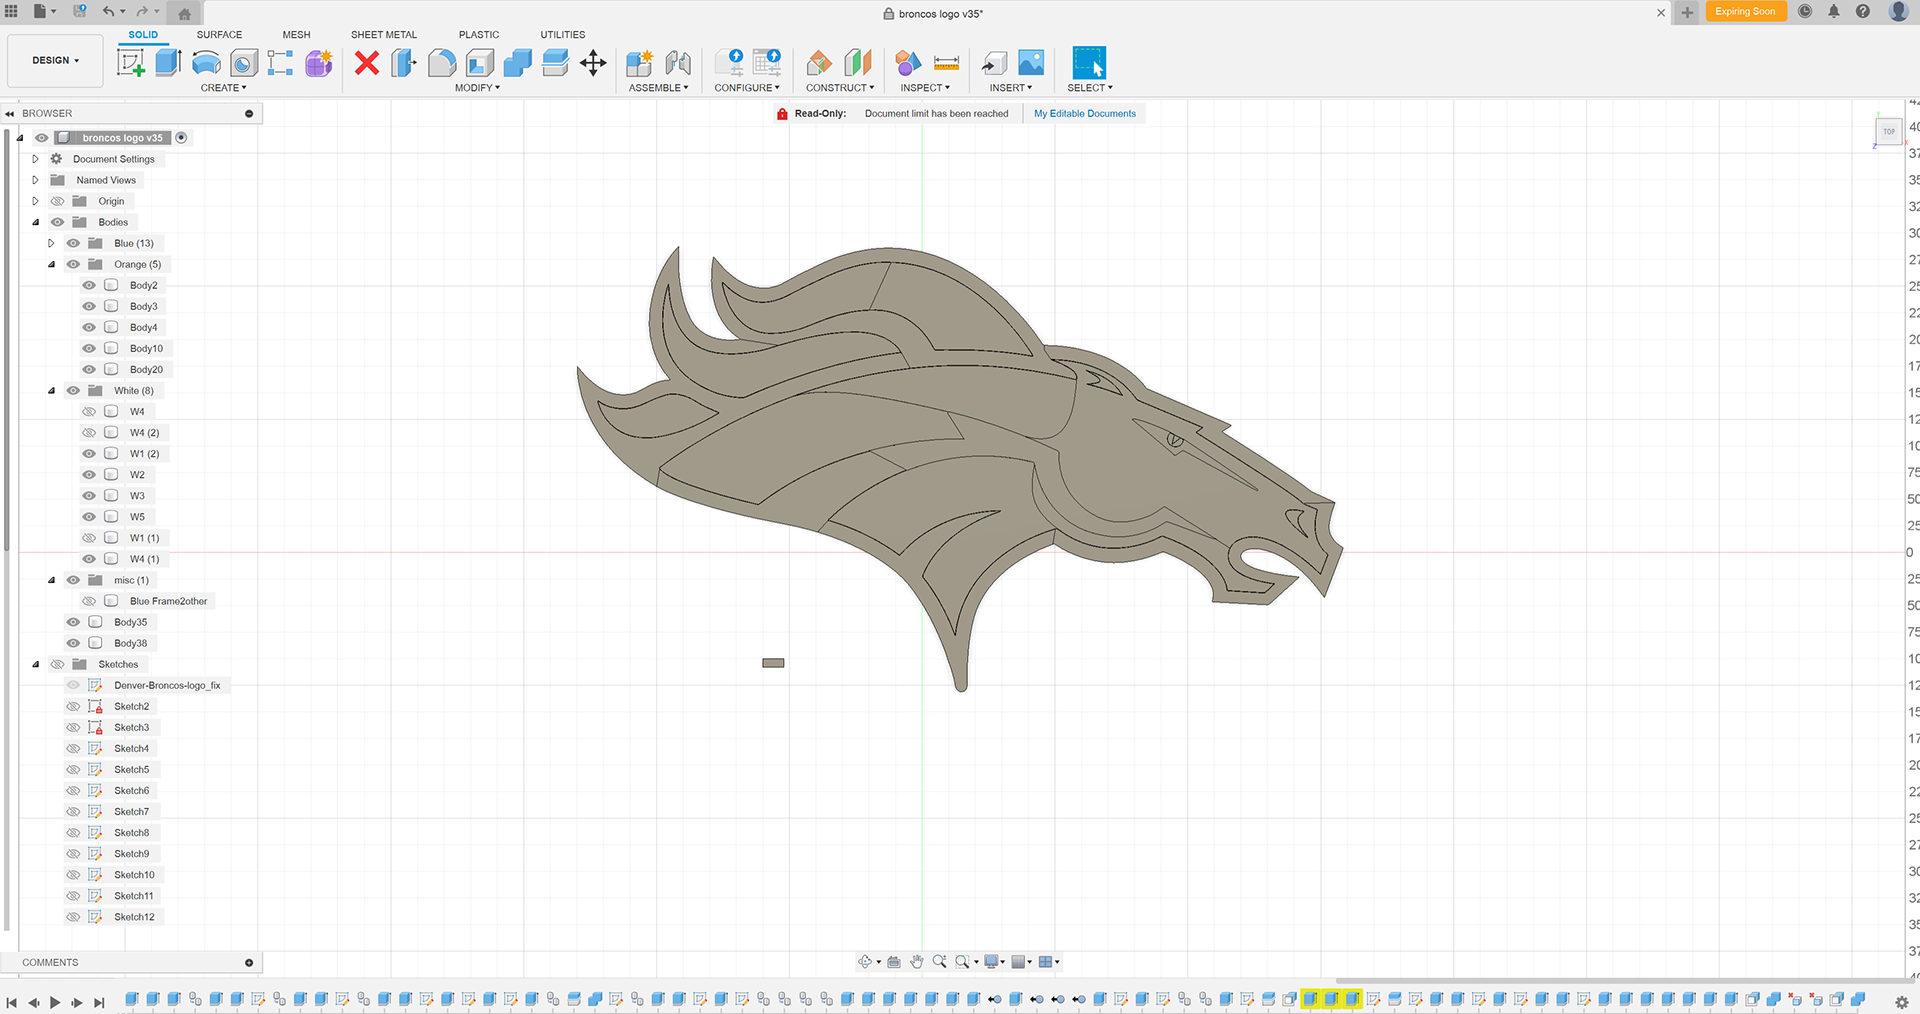
At this point I chopped up the model into different shapes that I knew I could fit on the largest print bed I have (modified Creality CR10 V3) and at the same time, blended into some of the pre existing curves in the design. I extruded the exterior blue 50mm, dropped the interior white and orange to 40mm which allowed for some good variation with shadows. Behind the model I added slots that would allow a small tab to go between the pieces to register them against each other.
Initially pieces were coming out nicely and I didn't have any initial complaints, however you can barely see it here, but the bottom white piece has some infill hexagons that are visible and I'm not a fan of that.

I did eventually get it all printed out, however there were a couple of issues with the final prints. Mainly the issues were in the top white portions, you can really see the issues under the eye, where the texture is quite uneven, and just has a rough overall surface finish, and at this point I haven't put in the new white filament.
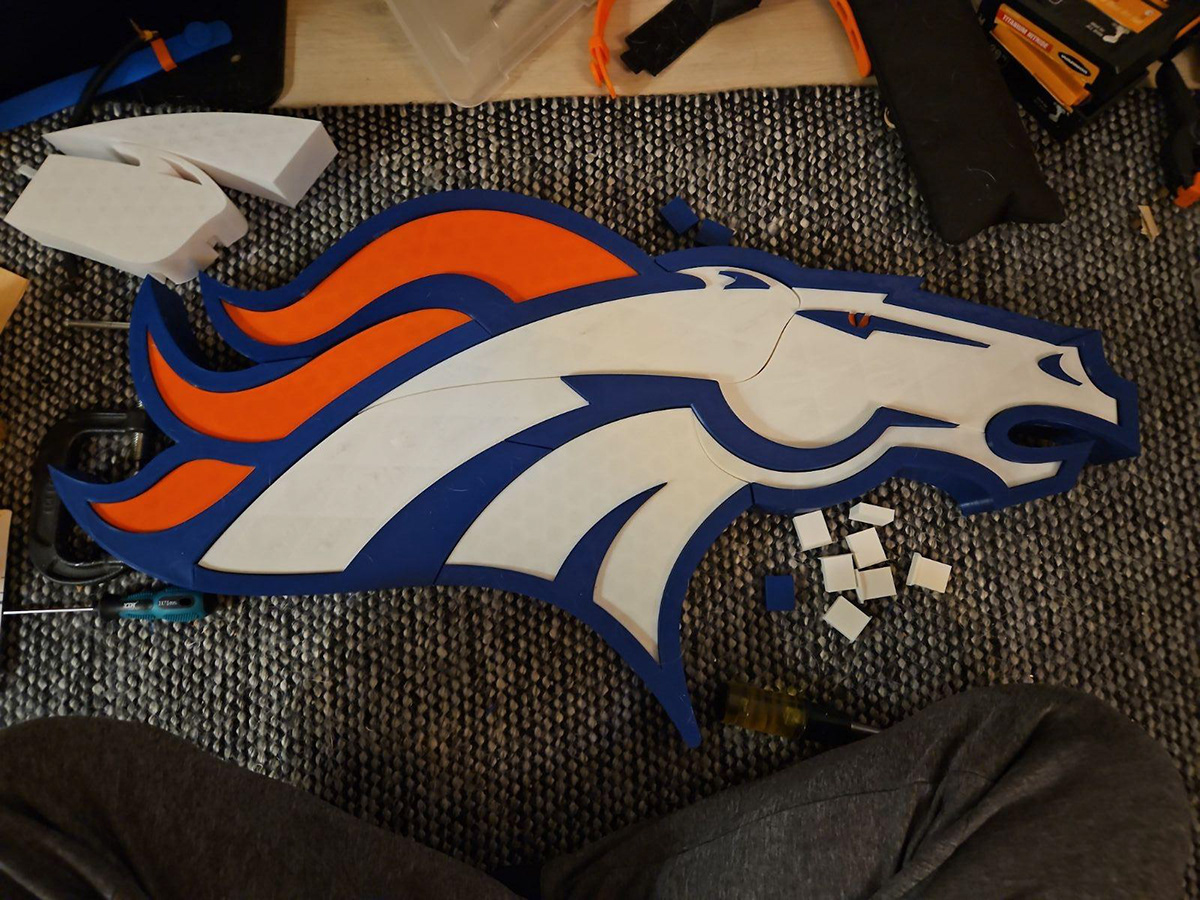
At this point I started a general glue up with the main pieces. mainly focused on individual interior pieces such as the blue out-sets in the white pieces and the orange in-sets within the blue outline.
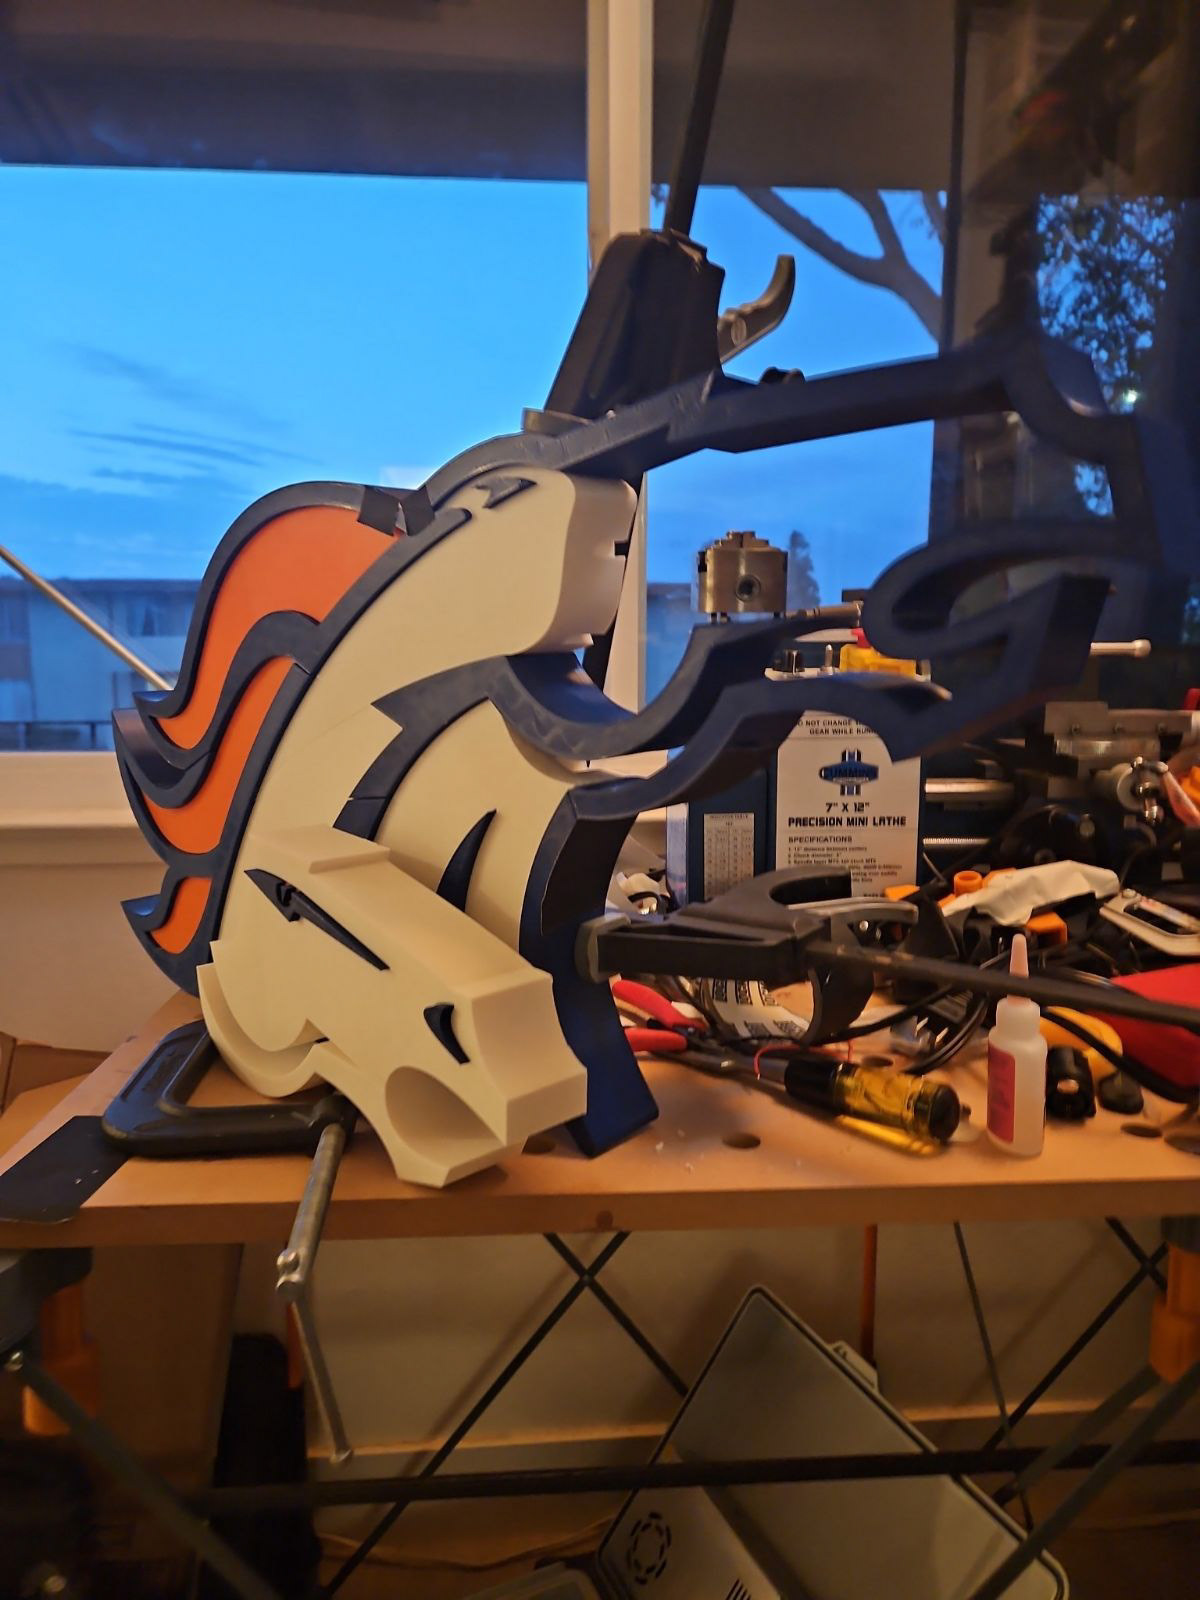

As you can see from this final version, I replaced the bottom sideburn white infill, and to fix the main issue with the face, I printed a 2 layer thick cover to give me a nice clean top layer. I also printed 1 layer thick outer covers for the ear, eye shadow and internal blue sideburn as I was working to try and hide and remove a blemish and between acetone and a heat gun, globbed up the filament and maid the texture look terrible. Overall it turned out well, however if I had used 4 or even 5 top layers would probably have been best to avoid any light bleed. Luckily this isn't lit with any lights so shouldn't have any light bleeding through the back.